Setting up PostgreSQL in Azure VM
There are a few different ways to spin up an PostgreSQL database in Microsoft Azure. One of the easiest ways is via the MS Open Tech VM Depot. The VM Depot is a collection of preconfigured VM’s that you can deploy to azure and is great if you want to install a complete stack such as LAMP or LAPP. If you choose this option then you can skip down below to configuring PostgreSQL.
Another option is to spin up a Linux VM and install PostgreSQL directly. This is a good option if you are only going to install PostgreSQL and don’t need a complete stack installed on a machine.
Creating the Azure Virtual machine
Assuming you have set up you Azure account (Ways to get Azure), setting up a VM is easy.
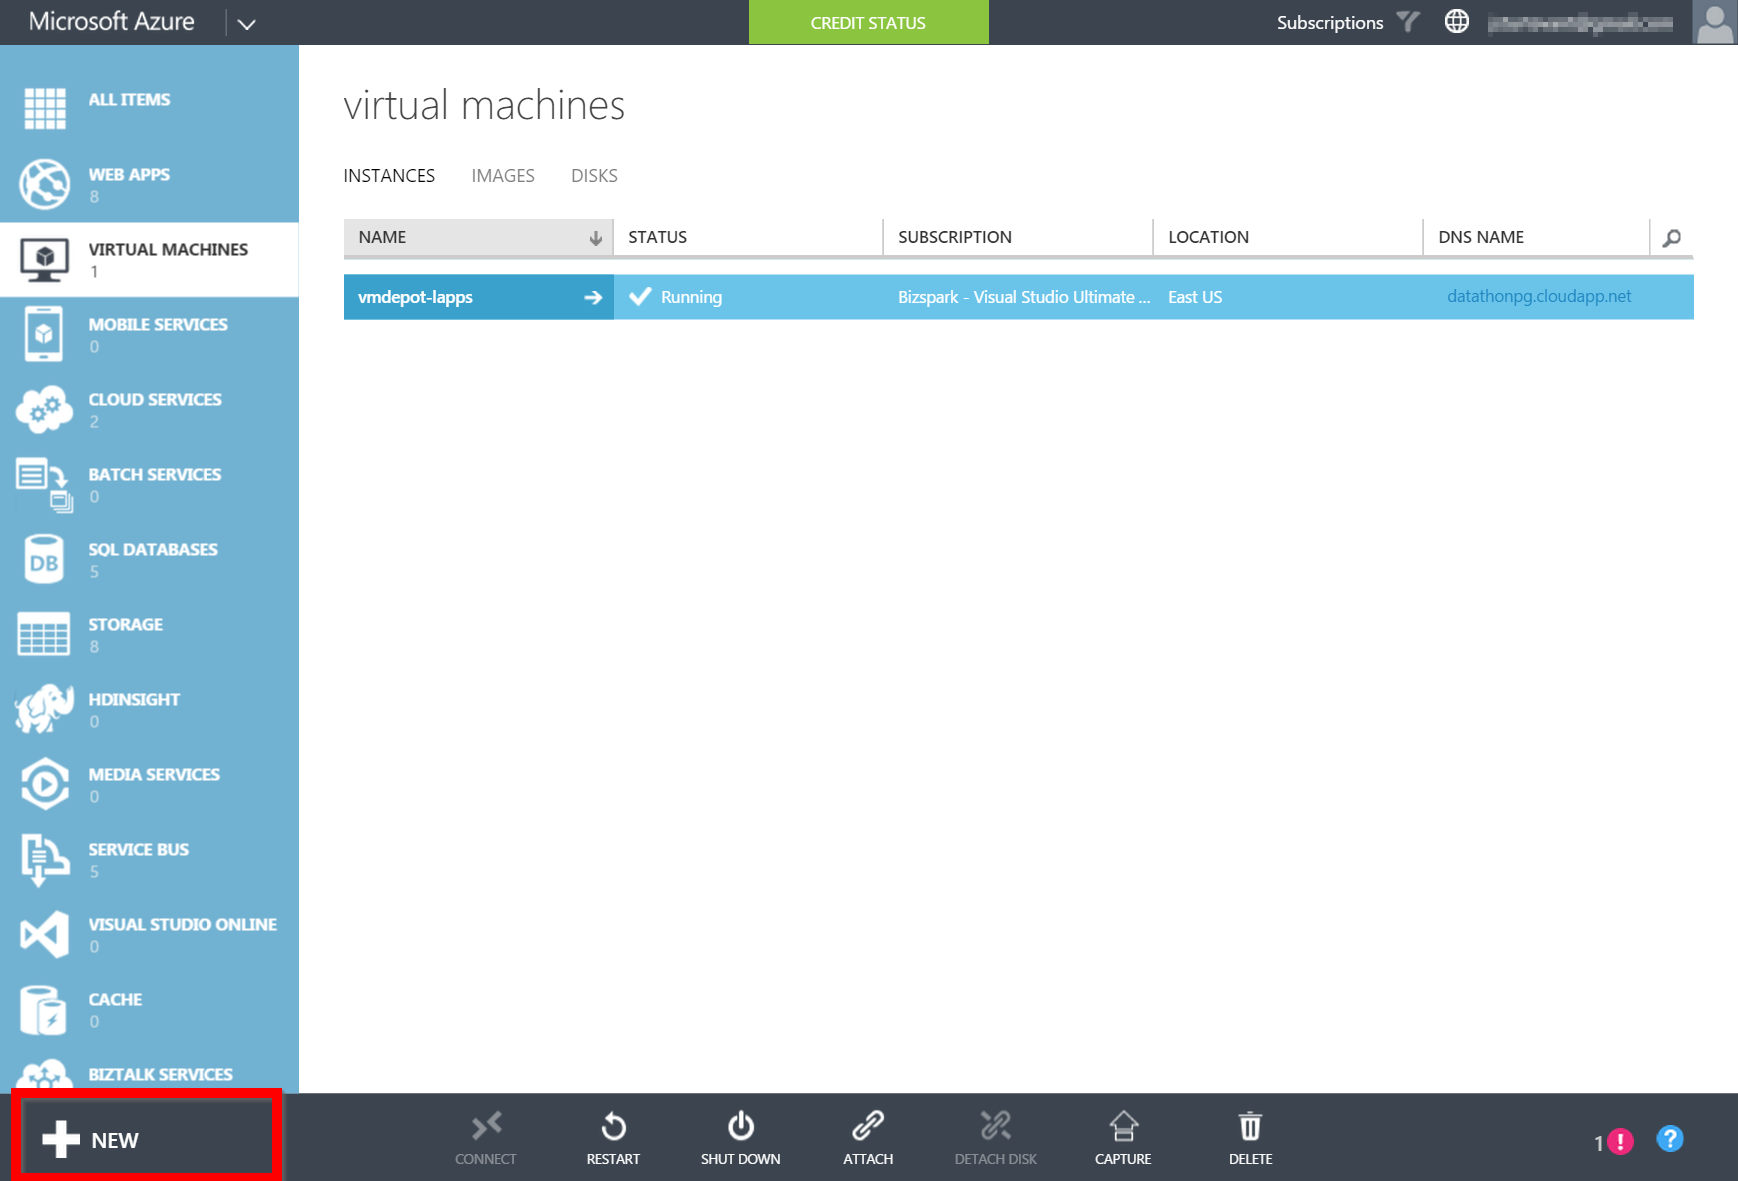
In the bottom drawer bar click on new:
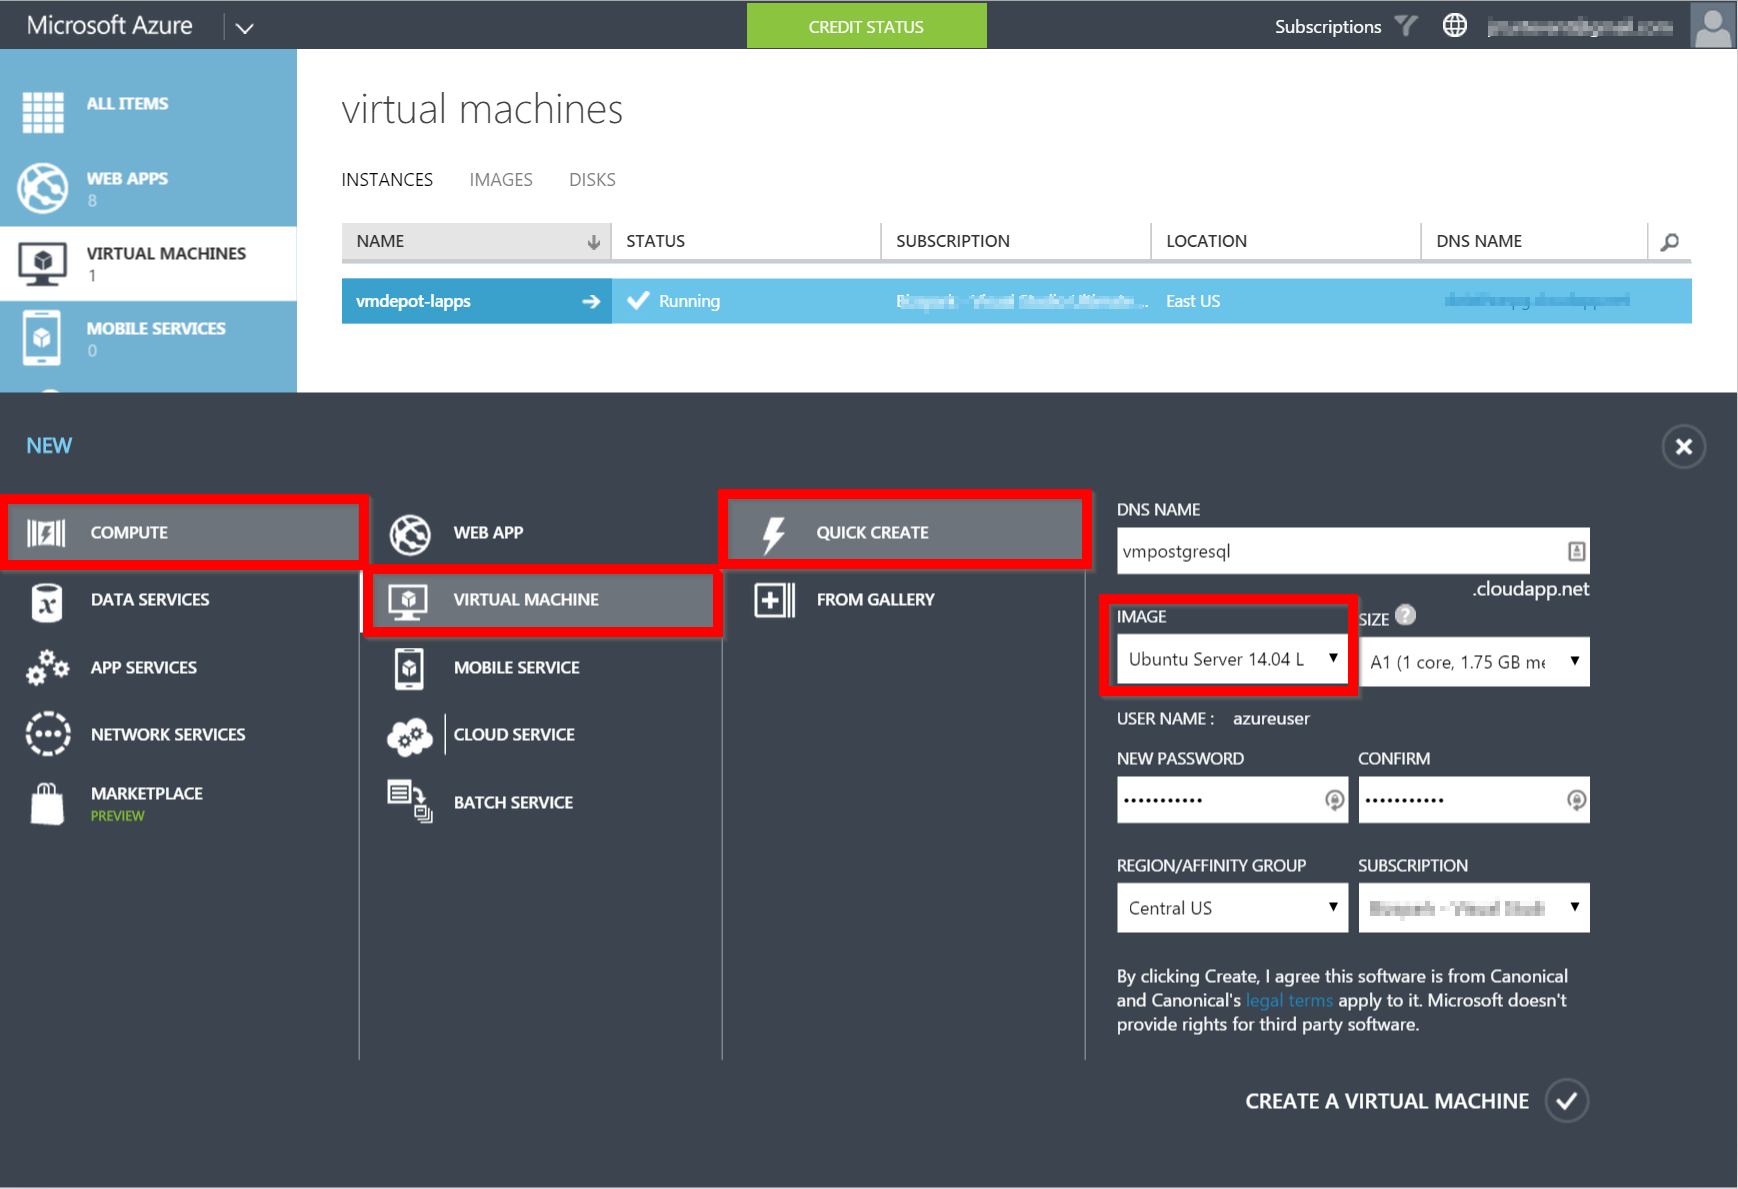
Next select a new Compute Resource -> Virtual Machine -> Quick Create. Give the VM a unique name and be sure to pick your favorite Linux distro. In this case I will be walking through how to set up a Ubuntu Server. You will also need to provide a password, region to host the VM (select the location closest to you) and your Azure subscription. Click the Create button in the bottom right and a few minutes you will have a VM!
Installing PostgreSQL
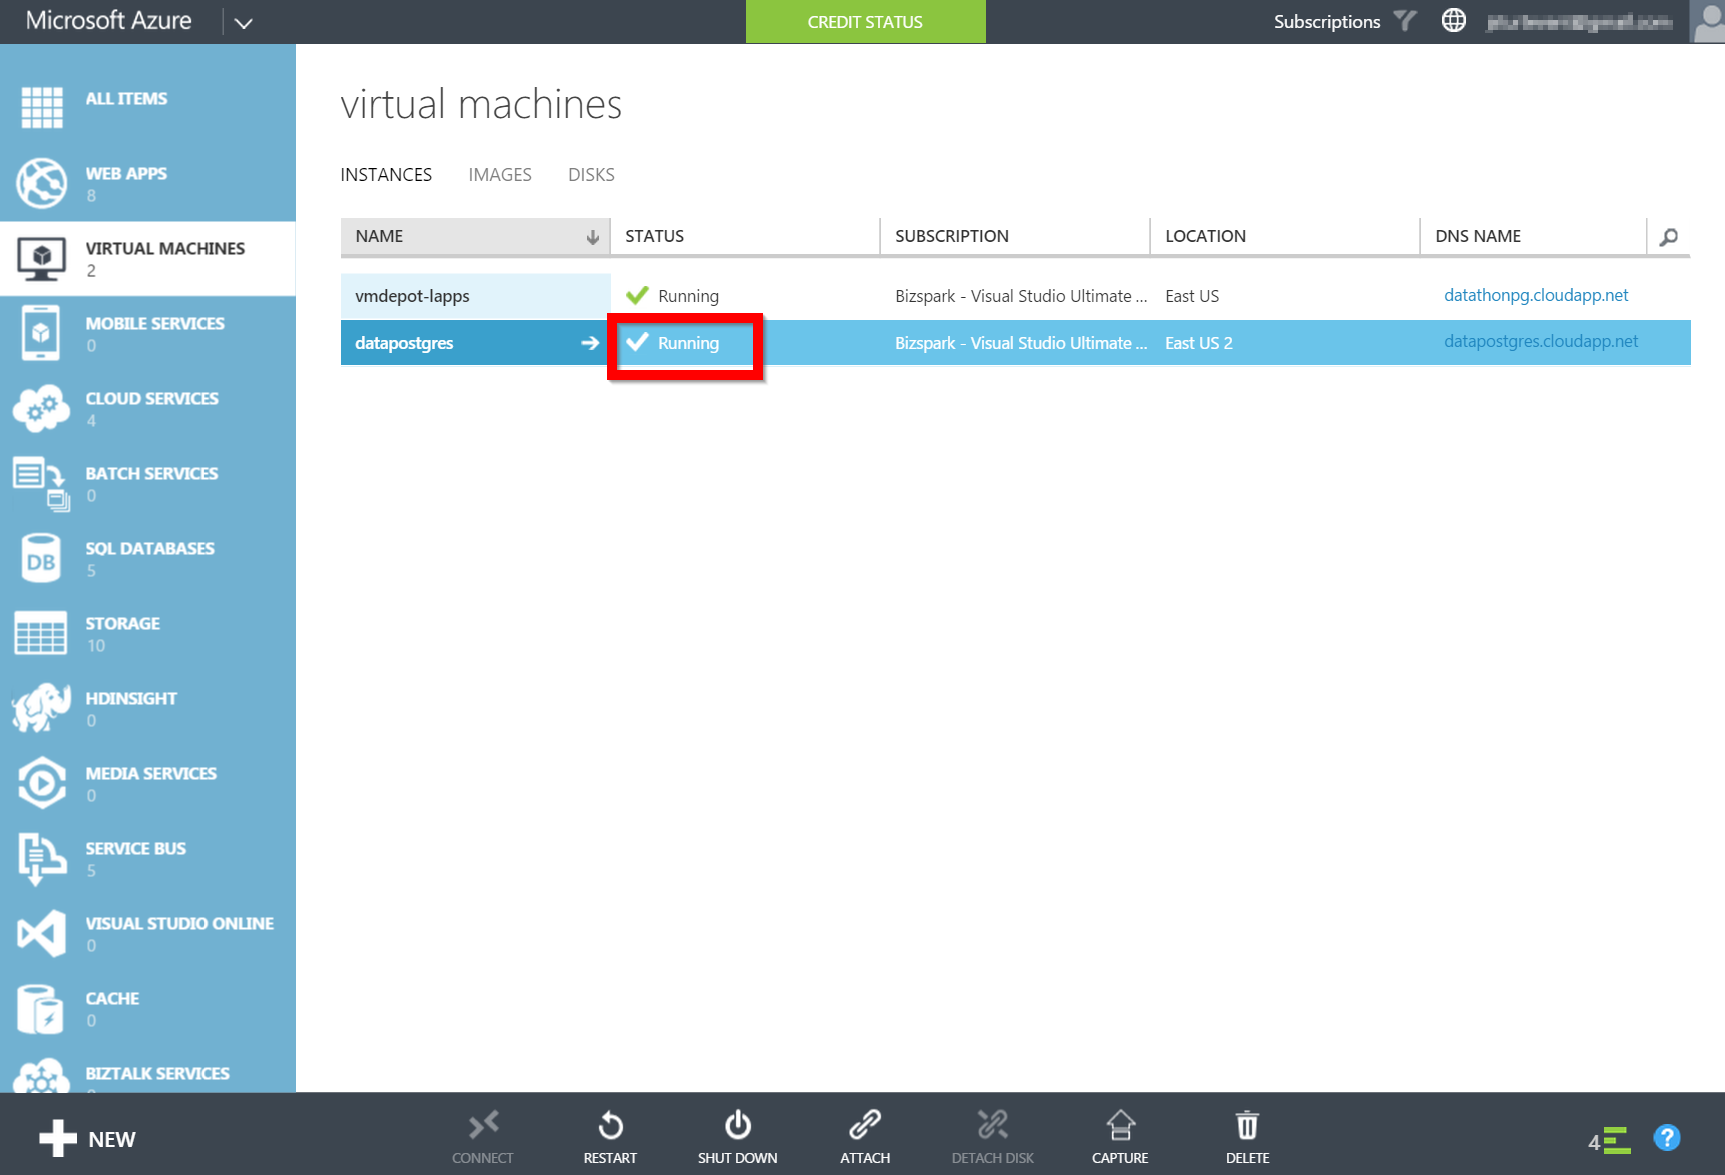
To install PostgreSQL you will need to ssh (secure shell) into the VM you just set up. Make sure that the VM says that it is running in the dashboard:
Now you can ssh into the machine. If you are on windows you are can use PuTTY. There is a tutorial located here. When you are logging into the VM you will provide the username and password that you created when provisioning the VM in the previous step.
Once you are connected to the machine we will use apt-get to install PostgreSQL. At the terminal type:
sudo apt-get install postgresql
sudo apt-get install postgresql-contrib
Configuring PostgreSQL
There are a few steps to confiure PostgreSQL. First you need to create a PostgreSQL database user:
sudo -u postgres createuser --superuser <username> -P
Next you need to allow IP addresses to access the PostgreSQL instance via the PostgreSQL configuration file. The path to the configuration file will change according to the version of PostgreSQL (or stack you installed). Using Vi, you should specify the exact IP addresses you want to allow access. You can find you IP address by google/binging ‘my ip address’.
#open vi
sudo vi /etc/postgresql/9.3/main/pg_hba.conf

#add the following line to the configuration file
host    all all       192.1.0.190/32 md5
Next tell PostgreSQL which IP’s to listen to. In this example I am enabling PostgreSQL to listen to all IP addresses but it would be more secure to specify an exact IP address.
#open vi
sudo vi /etc/postgresql/9.3/main/postgresql.conf

#enable remote connections
listen_addresses = '*'
Restart the PostgreSQL server:
sudo service postgresql restart
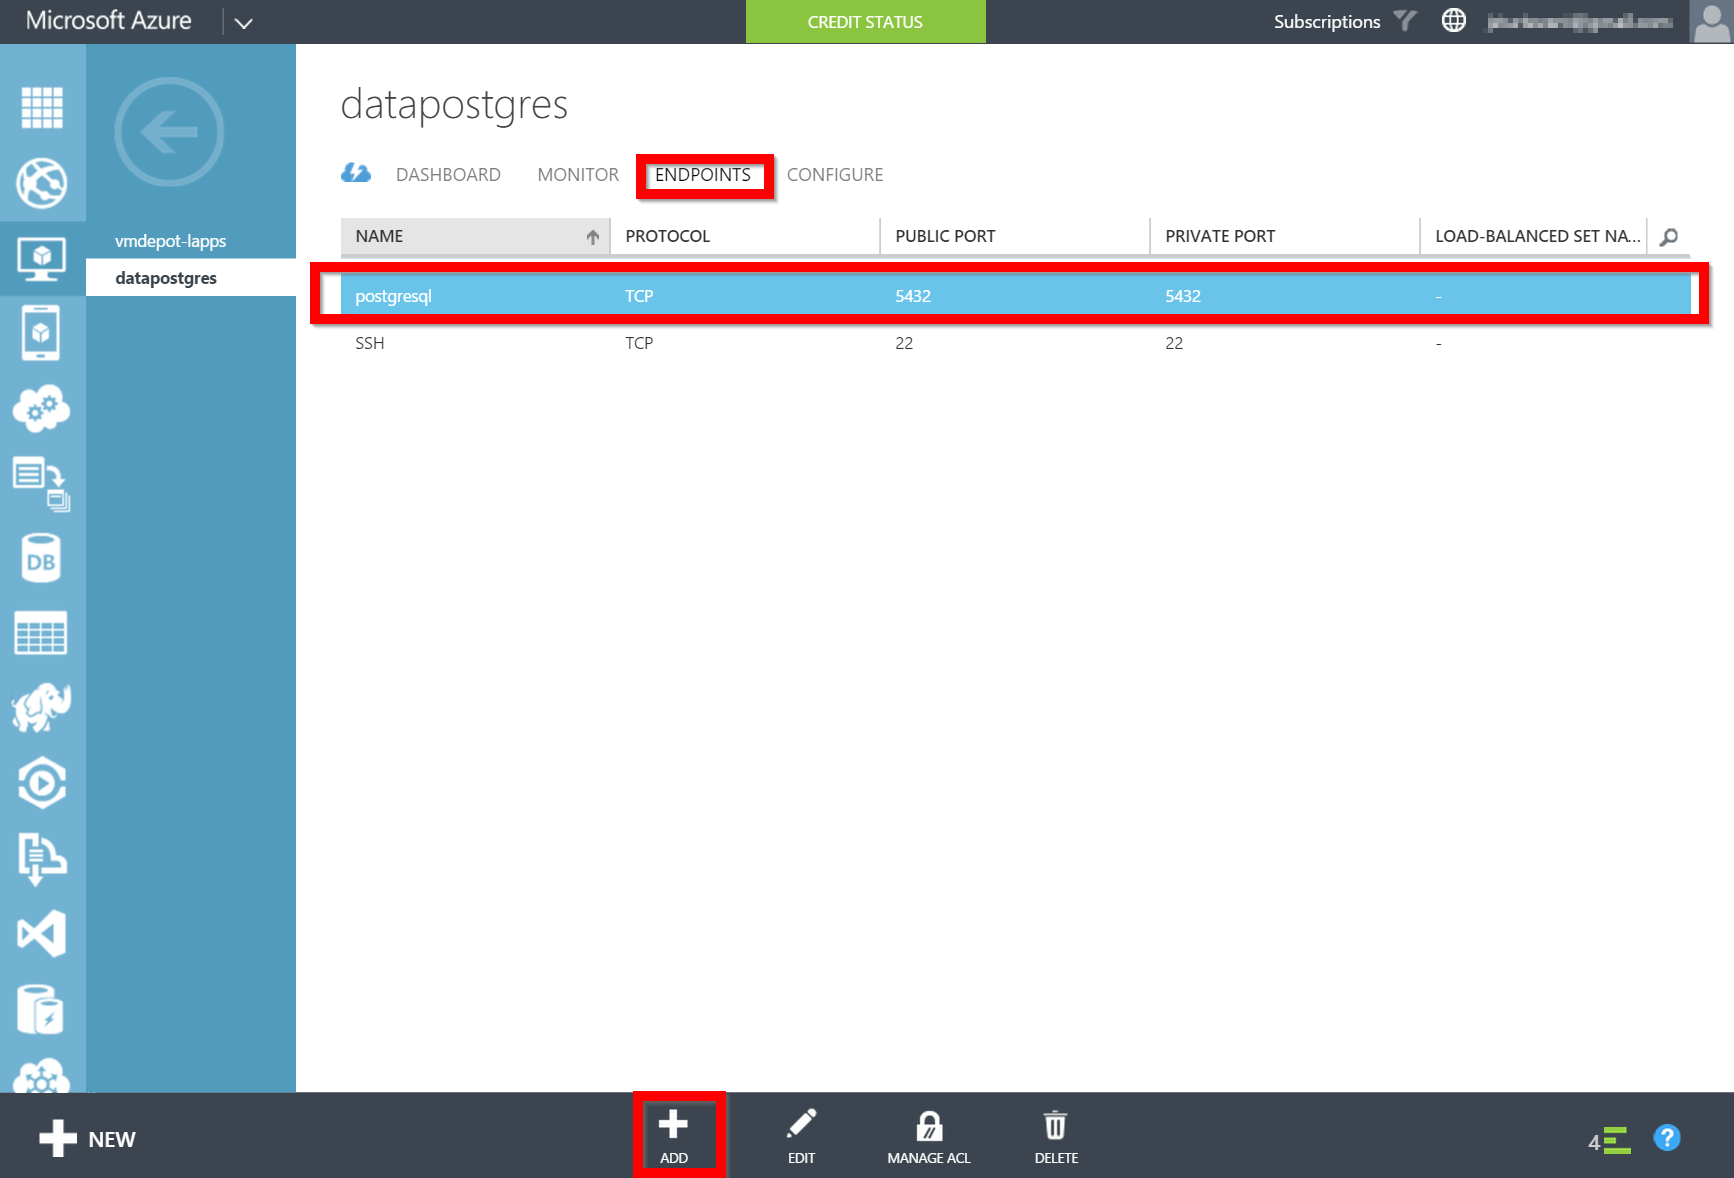
Finally inside the Azure Portal you need to open of the Firewall to all remote connection to the PostgreSQL port:
Connecting via pgAdmin
You can connect to the PostgreSQL instance via a command prompt like so:
psql -h <namespace>.cloudapp.net -U <user>
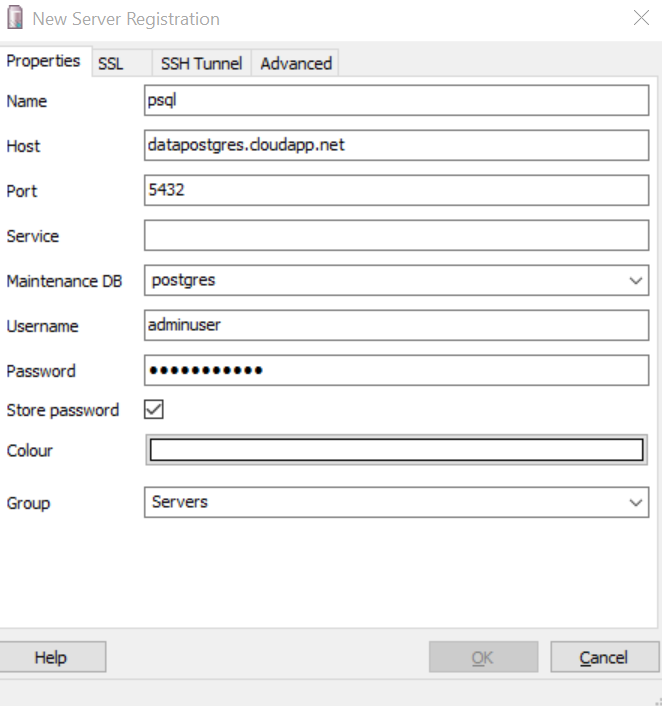
Another great way to connect is through a user interface such as pgAdmin. This is what the configuration screen would look like to connect to the VM in Azure:
Comments