Creating a Secure Service Fabric Cluster in two commands
Creating a Secure Fabric cluster in Azure has become easier. Currently if you use the Azure Cli you can do it in only two commands. Note that you may wish to change the location or operating system parameters.
az group create --name <resource-group-name> --location eastus

az sf cluster create
  --resource-group <resource-group-name> \
  --location eastus \
  --certificate-output-folder . \
  --certificate-password <password> \
  --certificate-subject-name <clustername>.eastus.cloudapp.azure.com \
  --cluster-name <cluster-name> \
  --cluster-size 5 \
  --os WindowsServer2016DatacenterwithContainers \
  --vault-name <keyvault-name> \
  --vault-resource-group <resource-group-name> \
  --vm-password <vm-password> \
  --vm-user-name azureadmin
Using an ARM Template
It is possible to create the cluster with a specified ARM template with --template-file and --parameter-file. Working with Noel, I found that in the the ARM parameter template (parameters.json) you need provide entries with blank values for certificateThumbprint, sourceVaultValue, and certificateUrlValue. This will create certificate and drop it on your machine as well.
An example is:
az sf cluster create \
  -g <rg-name> \
  -l eastus \
  --template-file template.json \
  --parameter-file parameters.json \
  --vault-name <vault-name> \
  --certificate-subject-name <clustername>.eastus.cloudapp.azure.com \
  --certificate-password <password> \
  --certificate-output-folder .
Connect
The command above creates the cluster and drops the pfx and pem files for the certificate to your current folder. You can connect to your cluster through the Service Fabric Explorer or through the Service Fabric Cli (sfctl).
Connect using the Service Fabric Explorer
To install the cert so you can connect to the Service Fabric explorer:
powershell.exe Import-PfxCertificate -FilePath .\<yourpfx>.pfx -CertStoreLocation 'Cert:\CurrentUser\My\'
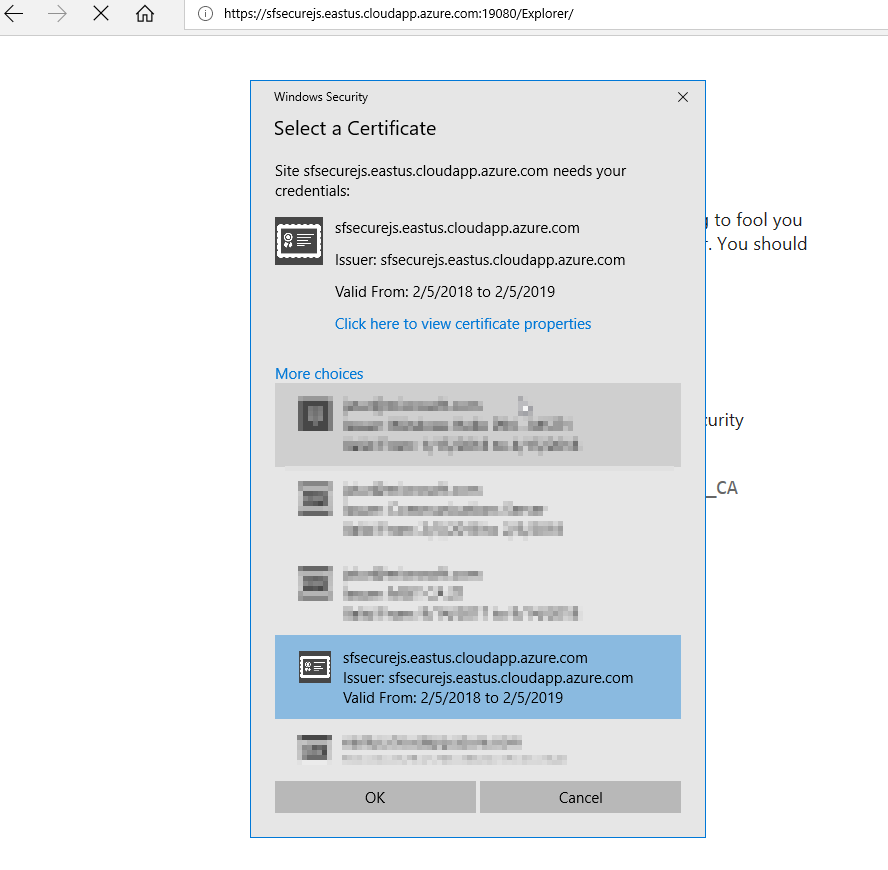
Browse to you Service Fabric Explorer (https://yourclustername.eastus.cloudapp.azure.com:19080/Explorer) and when prompted select your certificate:
Connect using the Service Fabric Cli (sfctl)
To connect with sfctl run the following command:
sfctl cluster select --endpoint https://<yourclustername>.eastus.cloudapp.azure.com:19080 --pem .\<yourpem>.pem --ca .\<yourpem>.pem

## get nodes
sfctl node list
Your certs
If you review the command we ran to create the cluster you will notice that you create an Azure Key Vault. If you ever need to get your private keys you can head back to the Key Vault resource either via the CLI or the portal to get your keys.
Thanks Vy Ta here is a quick example:
az keyvault secret download --vault-name <vault-name> -n <key-name> -f pfx-out.pfx

# if you want the pem
openssl pkcs12 -in pfx-out.pfx -out pem-out.pem -nodes
Comments